How to Setup VPN for iOS - Your Ultimate Guide
In today’s digital world, protecting your online privacy is more important than ever. Whether you're using your device for personal or business purposes, ensuring that your data is secure should be a top priority. One of the most effective ways to achieve this is by using a Virtual Private Network (VPN). In this extensive guide, we'll delve into how to setup VPN for iOS devices and discuss the numerous advantages that come with using a VPN.
What is a VPN?
A Virtual Private Network (VPN) is a technology that creates a secure and encrypted connection over a less secure network, such as the Internet. VPNs are commonly used to protect your online activities from snooping, interference, and censorship. They help you to maintain your privacy and access content that may otherwise be unavailable or restricted in certain geographic locations.
Why You Need a VPN for iOS
Using a VPN on your iOS device comes with a multitude of benefits:
- Enhanced Security: VPNs encrypt your internet connection, safeguarding your data from hackers and cyber threats.
- Online Privacy: By masking your IP address, a VPN helps protect your identity online, allowing you to browse anonymously.
- Access to Restricted Content: VPNs allow you to bypass geographical restrictions, giving you access to websites and streaming services that may be blocked in your region.
- Secure Public Wi-Fi: Public Wi-Fi networks are notoriously insecure. A VPN secures your connection while using such networks.
Now that you understand what a VPN is and why it's beneficial, let’s explore how to setup VPN for iOS.
Step-by-Step Guide to Setup VPN for iOS
1. Choose a Reliable VPN Service
Before you can set up a VPN on your iOS device, you need to choose a reliable VPN provider. When selecting a VPN service, consider the following factors:
- Privacy Policy: Ensure the provider has a strict no-logs policy to guarantee your browsing history is not stored.
- Speed: Look for a VPN that provides fast connections for seamless browsing and streaming.
- Server Locations: A wide range of servers in multiple countries allows you to access global content effortlessly.
- Ease of Use: The VPN app should be user-friendly, especially for those new to VPNs.
- Customer Support: Reliable customer support is crucial in case you encounter issues during setup or usage.
Visit zoogvpn.com for an excellent VPN service that caters to all these factors, providing you with the security and performance you need.
2. Download the VPN App
Once you've chosen a VPN service, the next step is to download the VPN app from the App Store.
- Open the App Store on your iOS device.
- Type the name of the VPN service in the search bar.
- Tap on the download icon to install the app on your device.
3. Install the VPN App
After downloading the app, open it and follow the installation prompts. You may need to grant certain permissions to the app, such as access to your device's settings.
4. Create an Account
If required, create an account with your chosen VPN service. You may need to provide your email address and create a password. Some services offer free trials, while others may require a subscription.
5. Sign In to the VPN App
Once your account is created, sign in to the app using your credentials. This is the point where you'll start to gain the benefits of your new VPN.
6. Configure VPN Settings
Before connecting to the VPN, explore the app's settings. Common configurations include:
- Protocol Selection: Choose a protocol that provides the best combination of speed and security. OpenVPN is a popular choice.
- Auto Connect: Enable the auto-connect feature to keep your VPN running consistently.
- Kill Switch: Activate this feature to stop all internet traffic if the VPN connection drops, ensuring your data remains protected.
7. Connect to the VPN
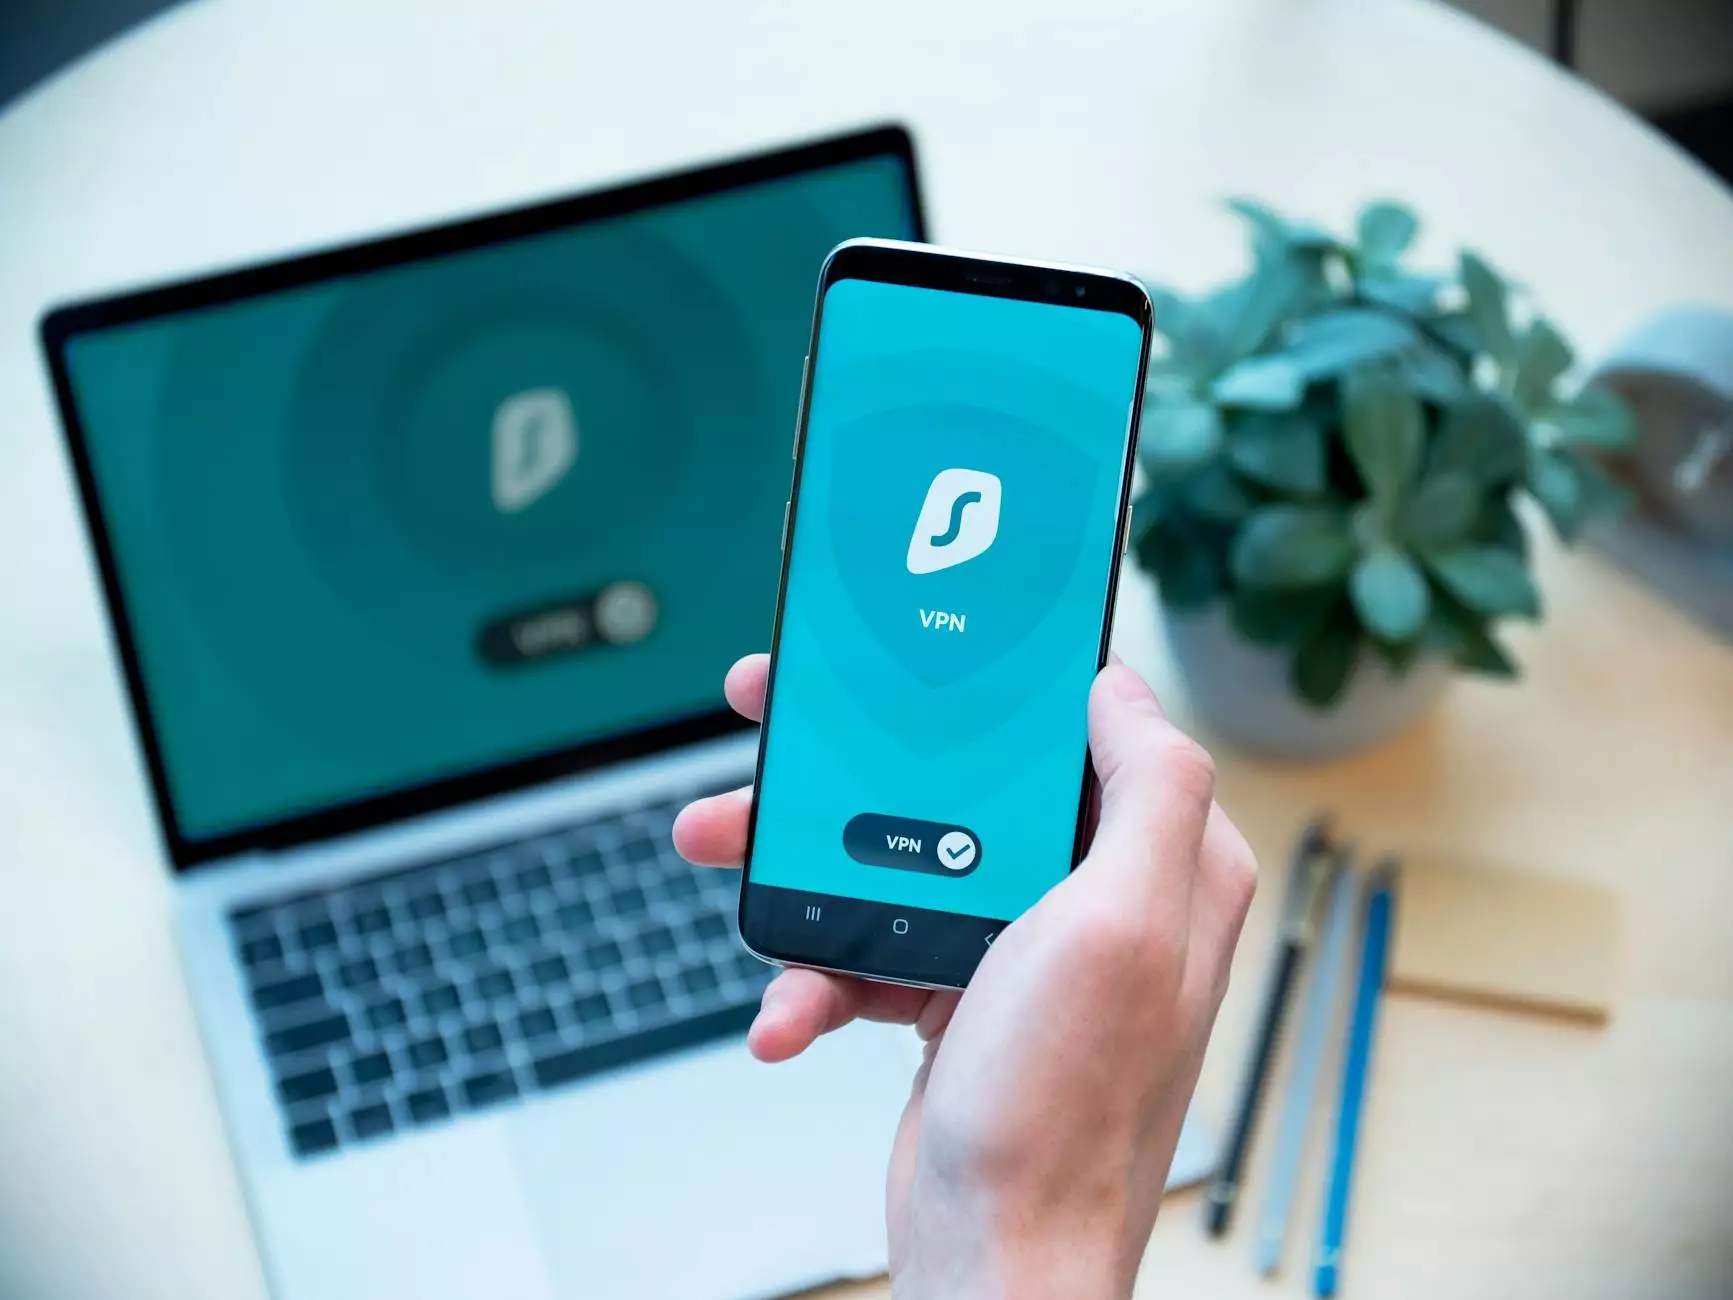
With your VPN configured, you can now connect. Simply select a server from the list provided within the app, and click the connect button. Once connected, you should see a secure connection notification in your device's status bar.
8. Verify Your Connection
To ensure your VPN is working correctly, you can verify your connection by visiting a website that shows your IP address, such as WhatIsMyIPAddress. If your IP address is different from your original location, the VPN is functioning properly.
Common Issues When Setting Up a VPN on iOS
While setting up a VPN on your iOS device is usually straightforward, you might encounter a few issues. Here are some common problems and their solutions:
1. The VPN App Won't Connect
This can occur for several reasons:
- Internet Connection: Check your internet connection to ensure it is active.
- Server Status: The server you are trying to connect to may be down. Try connecting to a different server.
- Configuration Settings: Ensure the settings in the app are correct according to the VPN provider’s instructions.
2. Slow Connection Speeds
If your connection is slower than expected:
- Server Location: Connect to a server closer to your physical location to improve speed.
- Protocol Used: Some protocols offer better speeds than others; try switching protocols in the app’s settings.
- Network Congestion: VPN speeds can vary during peak times; try connecting at off-peak hours.
3. Inconsistent Connectivity
Inconsistent connection issues may arise due to:
- Network Issues: Temporary network glitches can cause dropping connections. Restarting the router or switching networks may help.
- VPN App Bugs: Ensure your VPN app is updated to the latest version. Outdated apps may encounter bugs.
Conclusion
Setting up a VPN on your iOS device is a crucial step toward ensuring your online security and privacy. By following the steps outlined in this comprehensive guide, you can easily setup VPN for iOS and enjoy the benefits it brings.
From improved security while using public Wi-Fi to accessing geographically restricted content, the advantages of using a VPN are vast. Choose a reliable provider, follow the setup steps, and take control of your online privacy today.
For the best VPN experience, visit zoogvpn.com to find a solution that meets your needs and enjoy secure, private browsing on your iOS device.