How to Build a Raised Brick Pond
Creating a raised brick pond in your garden is a fantastic way to enhance your outdoor space. Not only does a pond add aesthetic value, but it also serves as a habitat for wildlife and a serene retreat for relaxation. Whether you’re an experienced DIY enthusiast or a beginner, this guide will provide you with the essential information and step-by-step instructions on how to build a raised brick pond that you can enjoy for years to come.
Understanding the Benefits of a Raised Brick Pond
Before diving into the construction process, it's important to understand why a raised brick pond can be beneficial for your property. Here are some of the key advantages:
- Enhanced Aesthetics: A well-constructed raised brick pond can act as the focal point of your garden, providing visual interest and beauty.
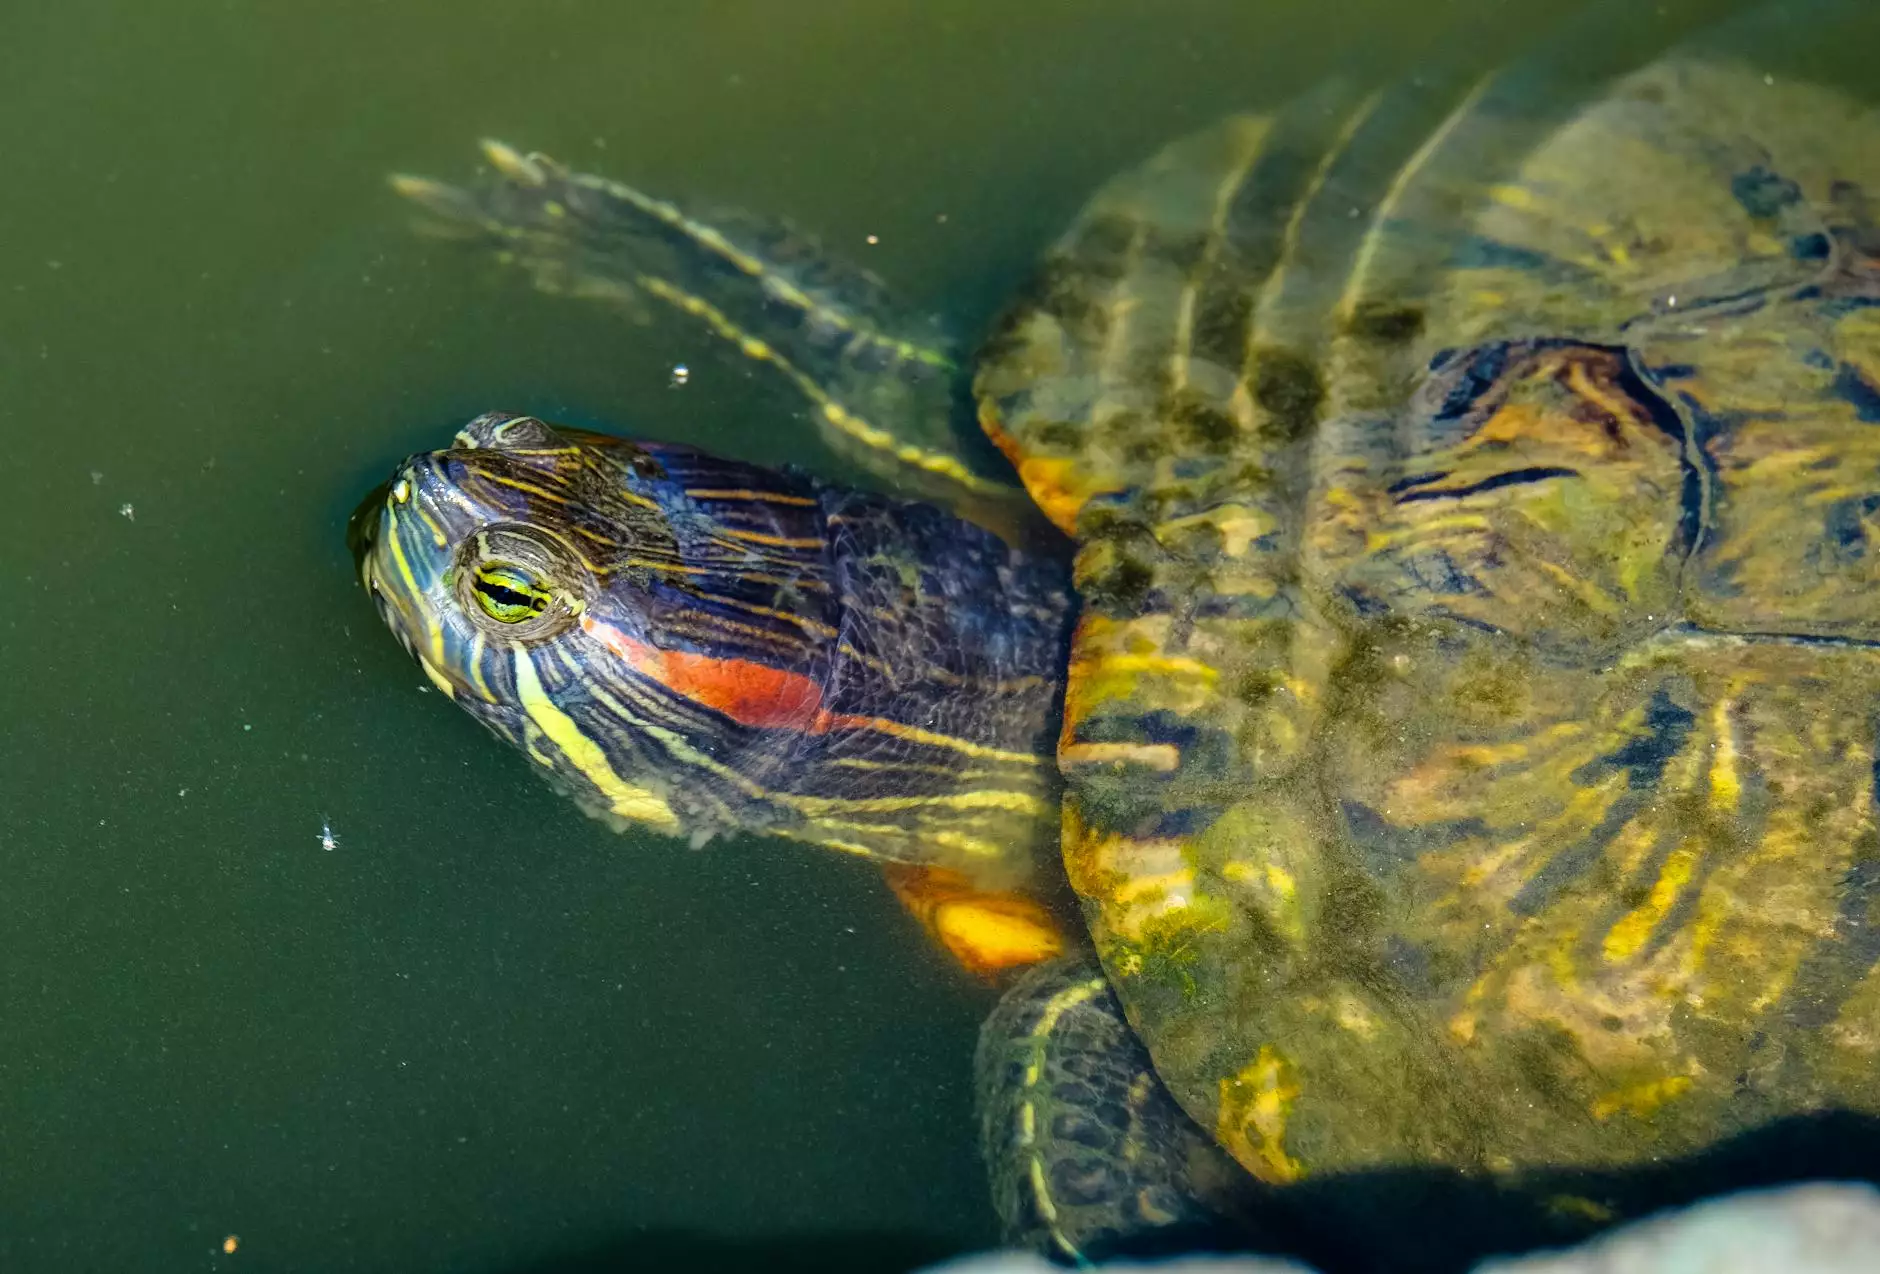
- Wildlife Habitat: Ponds offer a natural habitat for various wildlife, including frogs, birds, and beneficial insects.
- Water Features: The gentle sound of water can enhance the tranquility of your garden, making it a perfect spot for relaxation.
- Accessibility: Being raised allows easier access for maintenance and viewing without having to bend over.
- Customizability: You can design your raised brick pond to suit your style and space requirements.
Planning Your Raised Brick Pond
Before you start building, thorough planning is essential. Here are the main steps to consider.
1. Choose the Right Location
Look for a spot in your garden that gets sufficient sunlight and is visible from indoor spaces. Ensure your location is accessible for regular maintenance and far enough from trees to avoid falling leaves contaminating the pond.
2. Determine the Size and Shape
Consider what size of pond works for your space. Draw sketches to visualize the pond, keeping in mind that a larger pond will support a greater variety of plants and fish.
3. Check Local Regulations
Before proceeding, check with your local authorities regarding any regulations or permits required for building a pond in your area.
Gathering Materials for Your Raised Brick Pond
To build a raised brick pond, you’ll need the right materials. Here’s a comprehensive list:
- Bricks: Choose durable, weather-resistant bricks for longevity.
- Waterproof Liner: A heavy-duty pond liner will keep your pond from leaking. Choose a liner that is UV resistant.
- Gravel and Sand: Use these for laying the base and aiding drainage.
- Landscape Fabric: Helps in separating soil from gravel while discouraging weeds.
- Pond Pump and Filter: Essential for maintaining a clean and healthy pond environment.
- Plants and Fish: Research pond-friendly plants and fish to populate your pond.
- Tools: You’ll need a shovel, trowel, level, wheelbarrow, and gloves.
Building Your Raised Brick Pond: Step-by-Step Guide
Now that you have a plan and have gathered your materials, it's time to build your raised brick pond.
Step 1: Prepare the Site
Clear the area of grass, weeds, and debris. Use your shovel to outline the pond and dig out the soil to the desired depth, typically about 12 to 24 inches. Make sure the edges are level and compact the soil at the bottom.
Step 2: Install the Base
Add a layer of gravel to help with drainage, followed by a sand layer to provide a solid base. This should be about 2-3 inches deep. Use a level to ensure the ground is even.
Step 3: Lay the Bricks
Start laying bricks in a circular or rectangular shape based on your design. Ensure that bricks are level and evenly spaced. Use mortar in between the bricks for better stability if necessary. Continue laying bricks until you reach your desired height, leaving space for a water spillway if planned.
Step 4: Install the Liner
Once the brick structure is built, carefully line the interior with your waterproof liner. Make sure it overlaps the edges of the bricks and is tucked down properly to prevent any water leakage. Be careful to avoid puncturing the liner.
Step 5: Fill the Pond with Water
Fill the pond with water slowly to let it settle. Check for leaks by observing water levels once filled. If the water level drops substantially after a few days, inspect the liner for any damages.
Step 6: Set Up the Filtration System
Install your pond pump and filter system according to the manufacturer’s instructions. This will help maintain clean water and support aquatic life.
Step 7: Add Plants and Fish
Once everything is settled, introduce plants to your pond. Native water plants not only add beauty but also provide essential oxygen for fish. Choose fish species suited for ponds, like goldfish or koi, and allow them to acclimate before full introduction.
Maintaining Your Raised Brick Pond
After building your pond, maintenance is key to keeping it healthy. Here are some tips for proper pond care:
- Regular Cleaning: Remove debris and fallen leaves regularly to prevent contamination.
- Water Quality Testing: Regularly test pH levels and treat water as necessary to keep aquatic life healthy.
- Seasonal Care: Prepare your pond for winter by cleaning and possibly covering it to prevent ice damage.
- Plant Management: Trim and manage your aquatic plants to control algae growth and maintain balance.
Conclusion
Building a raised brick pond is a rewarding project that can bring beauty and serenity to your garden. By following this comprehensive guide on how to build a raised brick pond, you will create a stunning water feature that not only enhances your property but also serves as a habitat for wildlife. Invest the time and effort into planning and maintaining your pond, and you'll enjoy countless peaceful moments next to your new aquatic oasis.
For more information on creating a perfect space for your pets and aquatic adventures, visit Broadley Aquatics.